Follow the repair in order. Read every safety note before you begin, keep screws organized, and stop whenever your exact model does not match the instructions.
Never scrape a charging port with metal while the device is powered. Bent pins, battery faults, and board shorts require professional diagnosis.
Check your exact model
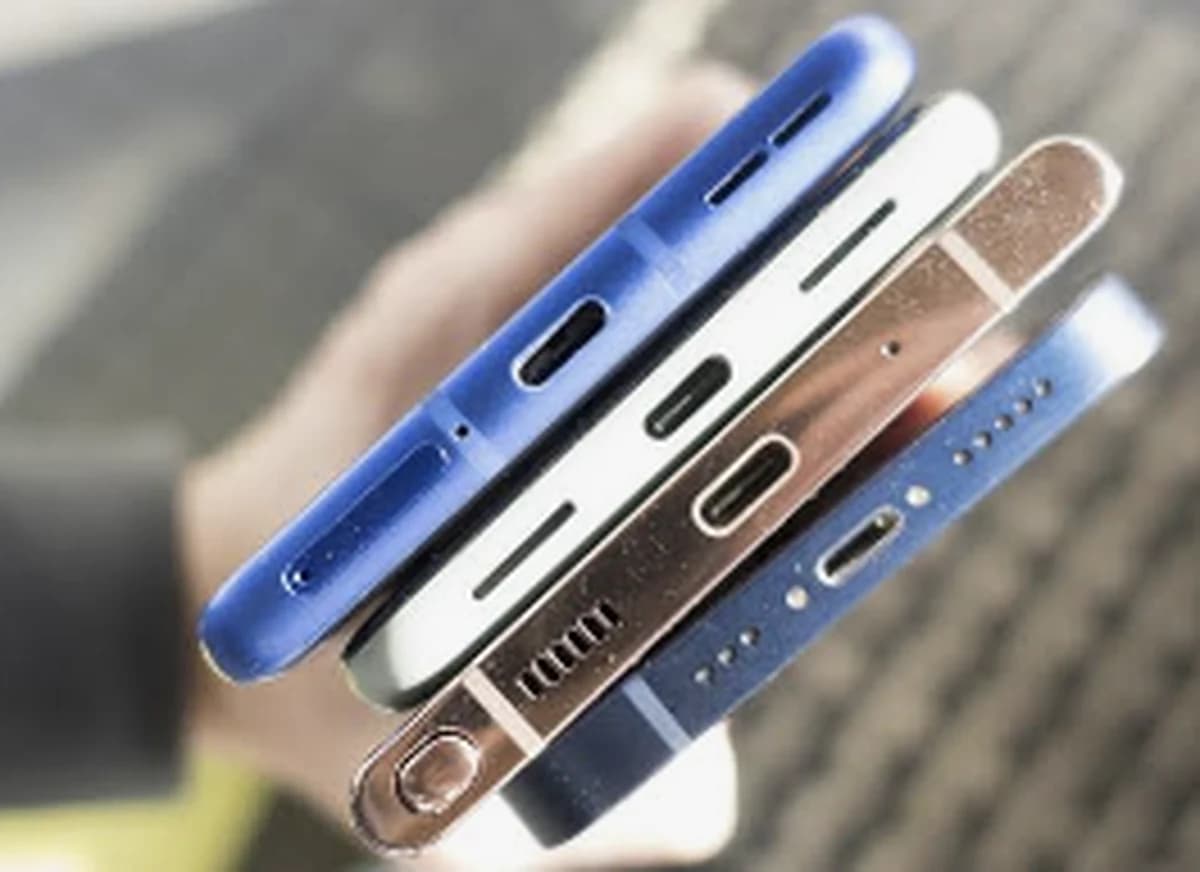
Lightning, USB-C, and Micro-USB ports use different contacts, flex assemblies, seals, microphones, antennas, and soldering methods. Confirm the exact phone or tablet model and diagnose the complete charging system before ordering a port.
9 steps
Repair instructions
Complete each step in order. Read cautions before touching the device.
01
Step 1 of 9
Confirm the charging symptoms
Record whether charging is slow, intermittent, one-direction only, cable-sensitive, unavailable, or missing data connection. Check for heat, liquid alerts, recent impact, battery swelling, or prior repair before connecting test equipment.
CautionStop immediately if the connector is burnt, corroded, wet, unusually hot, or surrounded by a swollen frame or battery.
Test a known-good certified cable, matching power adapter, and reliable wall outlet. Inspect both cable ends for dirt or damage, then test the suspect accessories on another compatible device.
Technician tipA weak adapter, damaged cable, unsupported fast-charge standard, or dirty cable plug can imitate a failed device port.
Power the device off and disconnect all cables. Use a bright light or microscope to inspect the port floor, center tongue, contacts, shell, and mounting for packed lint, bent pins, corrosion, burns, or looseness.
CautionDo not insert metal tools, needles, SIM ejectors, or conductive liquid. A damaged center tongue or displaced contact should not be straightened while the device is assembled.
Keep the device powered off. Use a clean soft antistatic brush and a shallow nonmetal pick to loosen visible pocket lint without touching or bending the contacts. Hold the port downward so debris can fall out.
CautionDo not force the tool to the back of the connector, use high-pressure air, or add liquid when corrosion or battery damage is suspected.
Restart the device and test stable cable fit, charging in supported orientations, normal charging rate, computer data connection, audio or accessory detection, and wireless charging when available. Watch the connector for heat.
Technician tipWireless charging that works while cable charging fails narrows the fault, but it does not by itself prove the port assembly is the only damaged part.
Measure current draw with suitable equipment and inspect system battery information. Separate port failure from a depleted or damaged battery, charging-control fault, logic-board corrosion, software limitation, or accessory-detection problem.
CautionReplacing the port without current and board diagnosis can leave the original fault unresolved and may damage a new part.
Follow the model-specific opening sequence, organize screws, protect cameras and biometric parts, and disconnect the battery before touching the charging assembly. Remove only the shields, speakers, antennas, or modules required for access.
CautionNever disconnect or connect a charging-port flex while the battery is attached. Screw lengths and cable routes must return to their original positions.
Disconnect the flex and transfer required microphones, gaskets, brackets, or antenna contacts according to the model procedure. Install the exact replacement without folding the flex sharply. Board-soldered ports require microsoldering equipment and training.
Technician tipBefore sealing the device, inspect that the connector sits centered in the frame and accepts a cable smoothly without abnormal movement.
Reconnect the battery, perform open-device tests, power off again, install fresh adhesive, and close the device. Verify charging rate under load, data transfer, both plug orientations when supported, microphones, speakers, antennas, wireless charging, and connector temperature.
CautionStop testing if the device or cable becomes hot, charging repeatedly disconnects, or the battery shows unstable current or swelling.
If a test fails, power the device off, disconnect the battery, and carefully reseat the relevant connector. Do not seal the display until every function passes.
Need a technician?
These are basic educational instructions. Orange Tech can diagnose the device, confirm the part, and complete advanced work safely.