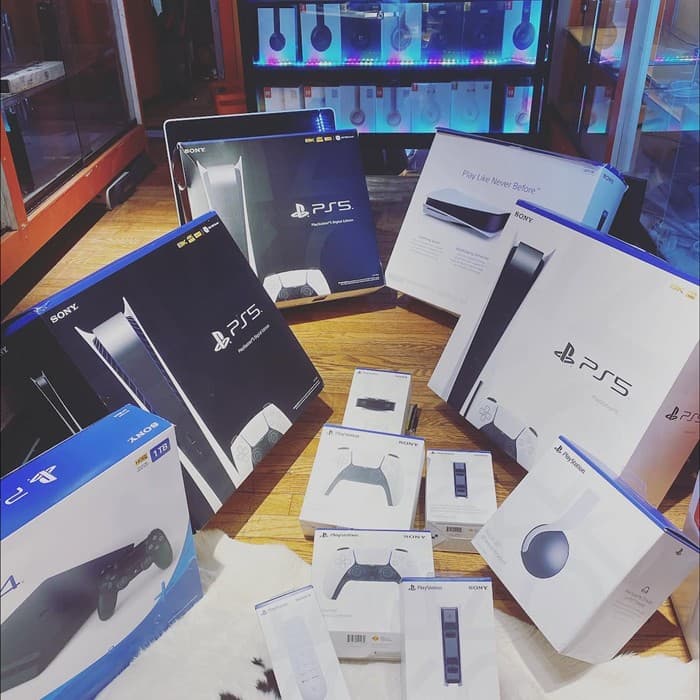
Follow the repair in order. Read every safety note before you begin, keep screws organized, and stop whenever your exact model does not match the instructions.
Disconnect all power and allow the console to cool. Power-supply components can retain dangerous voltage and should not be opened by untrained users.
Check your exact model
Original PS5, PS5 Slim, and PS5 Pro consoles use different covers, stands, fan access, fasteners, and cable routing. Check the CFI model number on the console and follow the matching Sony cover instructions before disassembly.
9 steps
Repair instructions
Complete each step in order. Read cautions before touching the device.
01
Step 1 of 9
Confirm the console model and symptoms
Record the CFI model number and confirm whether the console is an original PS5, Slim, or Pro. Note the symptoms—loud fan, overheating message, shutdown, reduced performance, or visible dust—and inspect the installation area for restricted airflow.
CautionA louder fan during demanding games can be normal. Stop using the console if it smells burnt, makes electrical noises, or repeatedly loses power.
Shut the PS5 down completely rather than using Rest Mode. Remove the AC cord and every connected cable, wait until the console is fully cool, and move it to a clean, dry, static-safe work surface.
CautionThe power supply can retain dangerous voltage. This cleaning guide does not open or service the power-supply enclosure.
Place the console in the model-correct orientation on a soft surface. Remove the stand, then release each outer cover using the lift-and-slide direction specified by Sony for that model. Set the covers where they cannot be scratched.
Technician tipIf a cover does not move with controlled pressure, recheck the orientation. Forcing it can break locating hooks or clips.
Use a dry microfiber cloth on the covers. Hold a low-powered vacuum near accessible intake vents, exhaust vents, and designated dust-catcher openings. Loosen packed debris with a soft antistatic brush while the vacuum captures it.
CautionDo not insert a vacuum nozzle deeply into the console, use household cleaners, or allow moisture into openings.
Photograph the fan, cable routing, tape, shields, and screw positions before removal. Peel back only model-specified covers or tape, then remove the fan grille and fasteners with the correct driver while organizing each screw.
Technician tipDifferent PS5 revisions may use different fan screws and connectors. Keep every fastener in its exact original position.
Grip the fan connector by its plastic body and disconnect it in the direction specified for the model—never pull the wires. Lift the fan straight out while protecting nearby cables and the fan cavity edges.
CautionDo not pry on the motherboard connector. If the plug will not release, stop and confirm the correct method for the CFI model.
Hold the fan blades so they cannot spin. Remove hair and dust clumps with tweezers and a soft brush, then use a dust blower or brief controlled air to clear both sides. Wipe stubborn grime with a lightly dampened swab only when needed and let the fan dry fully.
CautionDo not overspin the fan with compressed air, soak the motor, bend blades, or use high-pressure air at close range.
With the fan removed, vacuum loosened dust from the cavity and brush accessible surfaces. Blow debris through visible heatsink fins in a direction that carries dust out of the console, not deeper toward the power supply.
CautionDo not remove motherboard shields, disturb liquid metal, or open the power supply as part of routine cleaning.
Reinstall the dry fan in its original orientation, reconnect its plug, replace every grille, screw, tape section, cover, and stand, and confirm the covers are fully seated. Reconnect the console and test it first at idle, then during a demanding game.
Technician tipWatch for stable fan sound, strong rear exhaust airflow, normal game performance, and no heat warning or shutdown for at least 30 minutes.
If a test fails, power the device off, disconnect the battery, and carefully reseat the relevant connector. Do not seal the display until every function passes.
Need a technician?
These are basic educational instructions. Orange Tech can diagnose the device, confirm the part, and complete advanced work safely.