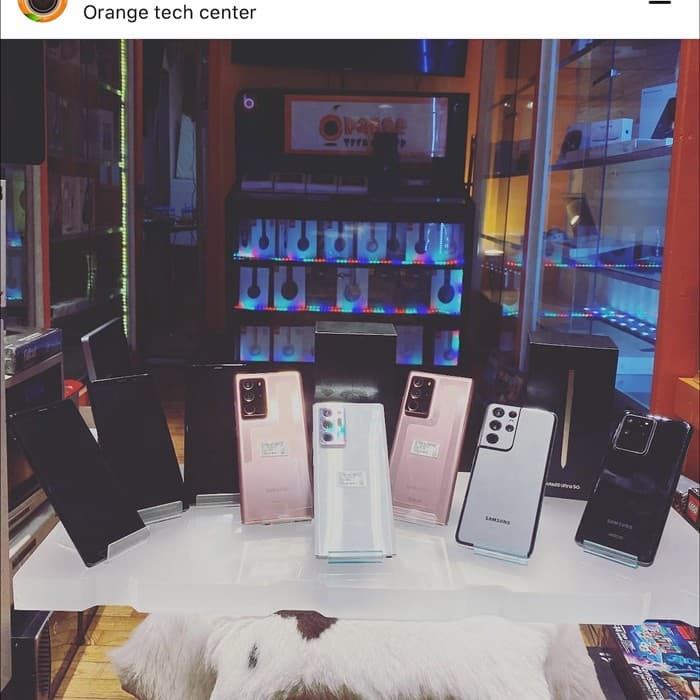
Follow the repair in order. Read every safety note before you begin, keep screws organized, and stop whenever your exact model does not match the instructions.
Heat, shattered glass, and battery proximity create injury risk. Stop if the battery is swollen or the frame is distorted.
Check your exact model
Samsung Galaxy back covers differ by model. Adhesive paths, camera openings, fingerprint sensors, wireless-charging parts, and flex cables may sit close to the edge. Confirm the full model number in Settings or on the device before ordering parts or inserting a tool.
8 steps
Repair instructions
Complete each step in order. Read cautions before touching the device.
01
Step 1 of 8
Confirm the model and inspect damage
Verify the complete Galaxy model number and compare the replacement cover, camera openings, color, and adhesive pattern with the original. Inspect the frame, cameras, and back-cover lift before starting.
CautionA back cover pushed outward may indicate a swollen battery, not failed adhesive. Stop and arrange professional battery handling.
Back up important data, reduce the battery below 25%, power the phone off, unplug all cables, remove the case and SIM tray, and cover cracked rear glass with overlapping clear tape.
Technician tipTape contains loose shards and gives a suction handle a smoother surface. Wear eye and hand protection throughout removal.
Apply controlled warmth to one long edge for about two minutes, following the heating tool instructions. The cover should become warm enough to soften adhesive but never painfully hot.
CautionExcessive heat can damage the OLED display, cameras, wireless-charging assembly, and lithium battery. Never use an open flame.
Place the suction handle near the warmed edge and lift with steady pressure. Insert a plastic pick into the seam between the rear cover and frame. Keep the pick shallow and parallel to the cover.
CautionDo not use a metal blade. If the glass flexes sharply or the gap will not form, stop and reapply controlled heat instead of adding force.
Slide the pick slowly along the warmed edge. Leave it in place, warm the next edge, and continue with another pick so separated adhesive cannot reseal. Follow the safe insertion depth and cable map for the exact model.
Technician tipAdhesive that becomes hard to cut has cooled. Reheat the area rather than forcing the pick deeper.
After all edges are free, lift the rear cover only a small amount and look underneath. Disconnect or release any fingerprint-sensor cable or attached component specified by the model manual before removing the cover.
CautionNever pull the cover away if a cable is still attached. Avoid pressing camera lenses or touching the wireless-charging coil with tools.
Remove old adhesive from the frame with plastic tools and tweezers. Clean only surfaces approved for the exact model. Transfer camera trim, fingerprint sensor, microphone mesh, or other parts when the replacement cover does not include them.
CautionKeep alcohol and solvent away from coated wireless-charging coils, camera modules, speakers, and exposed adhesives unless the model procedure specifically permits it.
Before applying adhesive, temporarily position or connect required parts and test the phone. Power it off again, install the model-specific adhesive, remove liners in order, align the camera openings and edges, and press evenly around the perimeter.
Technician tipOpening the phone compromises its original water resistance. New adhesive improves the seal but does not guarantee the original protection rating without professional testing.
If a test fails, power the device off, disconnect the battery, and carefully reseat the relevant connector. Do not seal the display until every function passes.
Need a technician?
These are basic educational instructions. Orange Tech can diagnose the device, confirm the part, and complete advanced work safely.