Follow the repair in order. Read every safety note before you begin, keep screws organized, and stop whenever your exact model does not match the instructions.
This advanced service requires full disassembly. Incorrect paste application or damaged connectors can permanently damage the console.
Check your exact model
Xbox Series X revisions—including the original disc model, Digital Edition, and 2 TB Galaxy Black model—can differ in fasteners, internal layout, cable routing, and thermal materials. Confirm the model and match the disassembly procedure before starting.
10 steps
Repair instructions
Complete each step in order. Read cautions before touching the device.
01
Step 1 of 10
Confirm symptoms and console revision
Record the console model and document the symptoms under load. Check first for blocked vents, dust, fan failure, poor placement, or software-related shutdowns before deciding that thermal paste service is necessary.
CautionThermal paste replacement is a full-disassembly repair. It should not be the first response to normal fan noise or isolated game crashes.
Shut the Xbox down completely, unplug every cable, wait for it to cool, and hold the power button briefly after unplugging. Work on a clean static-safe bench with labeled screw storage and photograph each assembly before removal.
CautionThe power supply can retain dangerous voltage. Never open the power-supply enclosure or touch its internal components.
Expose the rear fasteners according to the exact revision, remove them with the correct security Torx driver, release the back panel clips, and lift the shell away without bending plastic locating tabs.
Technician tipPlace every screw on a position map. Similar-looking Xbox screws can have different lengths and shoulder shapes.
Document the fan-cable route, remove the fan fasteners, grip the connector body instead of its wires, and lift the fan out in its designed direction. Release the base and other model-specific supports in sequence.
CautionDo not pull on fan wires or pry against the motherboard connector. Cable routing must be restored exactly during reassembly.
Remove the optical drive or model-specific module connections, antenna board, interconnect cables, USB ribbon, shields, and chassis fasteners only as directed for the revision. Release latches before moving ribbon cables.
Technician tipTake close photographs of antenna leads, ribbon orientations, tape positions, and connector locks before touching them.
Support the assembly by its structural edges—not the power supply—and route cables through their cutouts while lifting the center chassis away. Continue until the motherboard and heatsink can be accessed safely.
CautionNever flex the motherboard or lift it by ports, small components, or the APU area.
Remove the heatsink retention hardware in the documented order. Lift the motherboard straight and evenly from the heatsink. If dried compound holds it in place, work gently at safe board edges with a plastic tool.
CautionDo not twist the board. Sudden release can crack solder joints, smear material across components, or damage exposed dies.
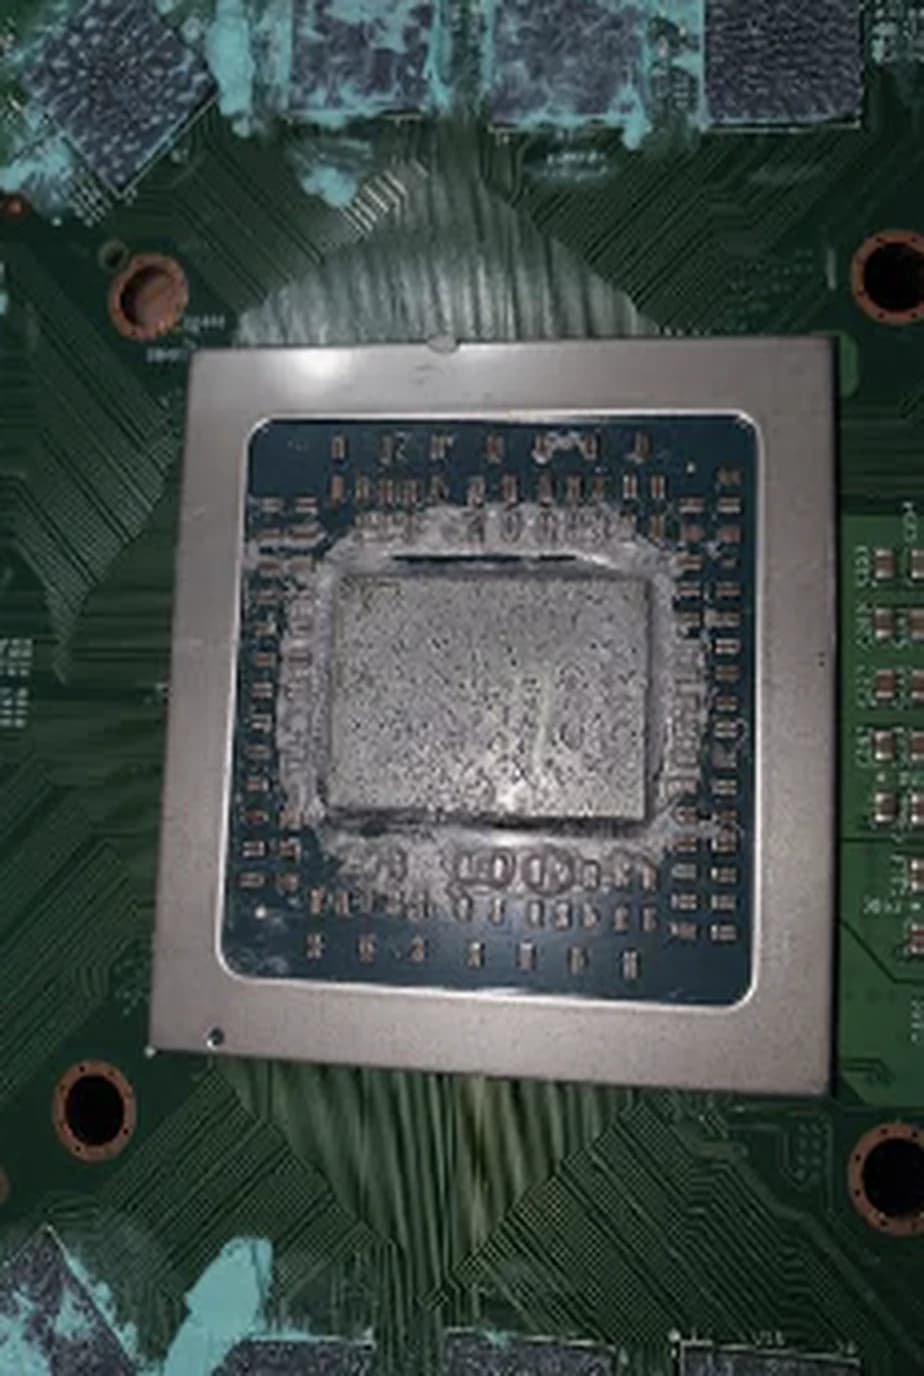
Remove old thermal paste from the APU and mating heatsink surface with lint-free material and isopropyl alcohol. Inspect thermal putty on memory and power components; preserve it when pliable and correctly placed.
CautionThermal paste and thermal putty serve different gaps. Do not replace putty with ordinary paste or guess its thickness or volume.
After both mating surfaces are clean and dry, apply a small centered amount of nonconductive thermal paste to the APU. Replace only damaged thermal putty with a compatible product placed on the same components and in the original amounts.
Technician tipUse the heatsink pressure to spread the paste. Avoid excessive compound, air gaps, and repositioning the board after contact.
Align the motherboard with the heatsink guides and lower it once, evenly. Reinstall retention hardware with balanced pressure, restore every shield, module, cable, fan, panel, and screw, then test startup, video, network, storage, fan behavior, and temperature during gameplay.
CautionStop testing immediately if the fan does not spin, the console smells hot, displays artifacts, or shuts down.
If a test fails, power the device off, disconnect the battery, and carefully reseat the relevant connector. Do not seal the display until every function passes.
Need a technician?
These are basic educational instructions. Orange Tech can diagnose the device, confirm the part, and complete advanced work safely.